Table of Contents
- What Geotagged Inspection Reports Actually Change
- How to Capture Precise GPS Coordinates for Inspections
- Best Practices for Construction Site Photography
- Digital Field Report Templates and Standardized Output
- Audit Trail Defensibility and Legal Admissibility
- Data Privacy, Security, and Offline Sync Challenges
- Calculating ROI: Where the Time Savings Come From
- Frequently Asked Questions
Last Updated: September 18, 2026
What Geotagged Inspection Reports Actually Change
Geotagged inspection reports attach GPS coordinates, a timestamp, and device metadata to every photo taken on site, turning a folder of images into verifiable evidence. This guide from PhotoLog covers what that shift changes for field inspectors, how to capture coordinates accurately, and where the real time savings come from.
How to Capture Precise GPS Coordinates for Inspections
Capturing precise GPS coordinates starts with letting your device lock onto a full satellite fix before you shoot. Open your camera or inspection app outdoors, wait for the location indicator to settle, then take the photo. Rushing this step is the most common cause of inaccurate tags.
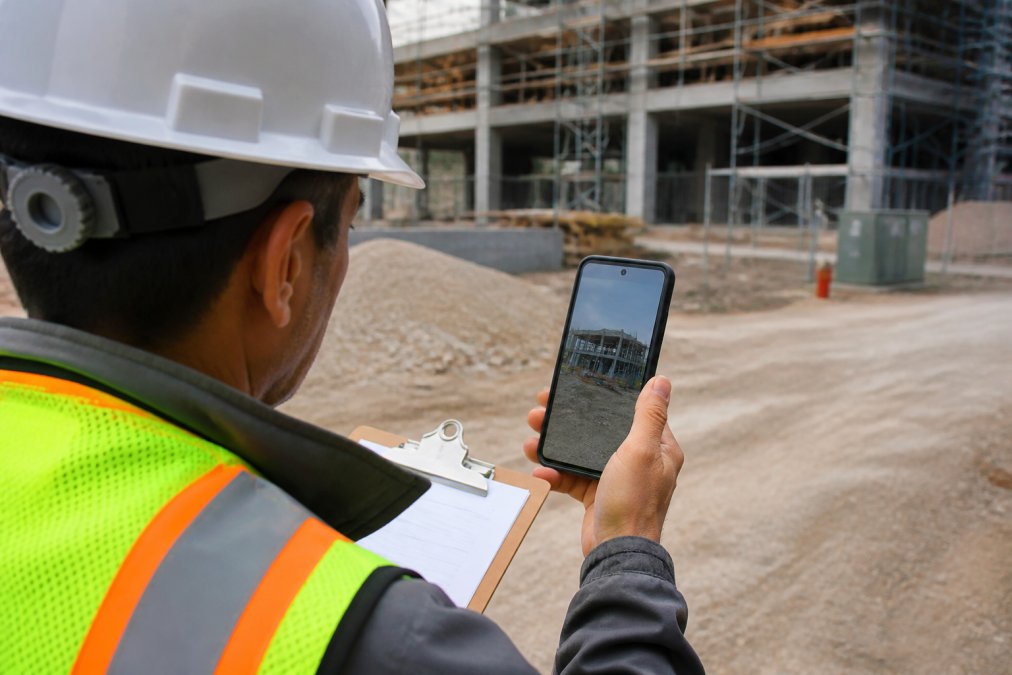
A practical sequence:
- Step outside or near a window before opening the camera
- Wait 10-30 seconds for the GPS indicator to stabilize
- Confirm the coordinates readout matches your actual position
- Take the photo, then check that the location tag saved
- Repeat the check at the start of each new site visit
Accuracy Limits and Verification Steps
Consumer GPS typically lands within a few metres under open sky, and drifts further under heavy tree cover, inside steel-framed structures, or in urban canyons. Treat any reading taken indoors as approximate.
Best Practices for Construction Site Photography
Good site photography follows three rules: consistent angles, adequate lighting, and a repeatable routine. Photograph the same viewpoints each visit so progress and defects are comparable over time, and shoot in diffuse daylight where possible to avoid harsh shadows hiding detail.
Lighting, Angles, and Consistency
- Shoot with the sun behind you, not facing the lens
- Capture one wide shot per area, then close-ups of any defect
- Include a scale reference, such as a tape measure or a fixed object, in defect photos
- Keep the same camera height and position across visits
- Avoid flash indoors where it flattens texture and hides cracks
Consistency matters more than image quality. A set of comparable photos from week to week tells a clearer story than a handful of perfect shots taken from random positions.
Digital Field Report Templates and Standardized Output
Standardized templates turn raw photos into a report a client or regulator can read without explanation. A good field report template includes the project identifier, inspector name, date and time, GPS coordinates, a photo log, and a notes field for each image.
Set up your template fields before your first site visit, not after. Retrofitting categories onto 200 photos taken without structure is the single biggest time sink in switching to digital reporting.
::: Establishing this organized workflow early ensures that the final home inspection report benefits from a seamless transition between field data collection and the rapid delivery of actionable insights.
Audit Trail Defensibility and Legal Admissibility
A defensible audit trail shows an unbroken chain: who captured the evidence, when, where, and whether it has been altered since. Geotagged photos with embedded timestamps and metadata support that chain, which matters when a defect claim or payment dispute ends up in mediation or court.
What Makes Evidence Hold Up
- Original files retained, not edited or recompressed
- Metadata intact, including EXIF data with coordinates and capture time
- A consistent capture routine documented in your procedures
- Storage that records when files were uploaded and by whom
In Canada, the admissibility of electronic records is governed by provincial evidence legislation and the Canada Evidence Act, which set out how digital records and their integrity are treated. The practical takeaway: preserve originals, avoid editing, and keep a clear record of custody. A geotagged photo is only as strong as the process behind it.
Data Privacy, Security, and Offline Sync Challenges
Privacy and offline sync are the two issues that trip up most field teams, and neither gets enough attention in the guides that rank today. Geotagged photos carry precise location data that may be sensitive, particularly on residential or secured sites, so access control and storage location matter as much as the coordinates themselves. And in remote areas with no signal, the sync behavior of your tool determines whether a day of evidence survives.
Privacy and Data Protection Obligations
In Canada, private-sector handling of personal information falls under the Personal Information Protection and Electronic Documents Act at the federal level, and under substantially similar provincial legislation in provinces such as British Columbia, Alberta, and Quebec. The practical implications for geotagged inspection reports are concrete:
- Location data can be personal information. A geotagged photo of a private residence, combined with a timestamp, can reveal an individual’s presence or absence. Treat it accordingly.
- Collect only what you need. If a client or site policy does not require coordinates, turn them off. PhotoLog includes a switchable GPS setting for exactly this reason.
- Know where your data is stored. Cross-border storage raises additional considerations under provincial privacy legislation in some jurisdictions. Ask your vendor where the servers sit and who can access them.
- Apply role-based access. Only the people who need a report should be able to open it. This is a control, not a convenience.
- Set a retention schedule. Keeping geotagged evidence forever increases both storage cost and privacy exposure. Define how long you keep originals and dispose of them on schedule.
Offline-to-Online Sync: How It Actually Works
Offline sync is the harder problem, and it is where most field documentation failures happen. Inspectors work in basements, remote lots, and areas with no signal. The rule is straightforward: capture offline, sync when you reconnect, and confirm the upload completed before deleting anything from the device.
- Local-first capture. Photos, notes, and coordinates are written to the device storage first, not held in memory waiting for a connection. If the app crashes, the data is still there.
- Queued uploads. Each session is queued and retried automatically when connectivity returns. A good tool shows you the queue state so you can see what is pending.
- Conflict handling. If the same report is edited on two devices, the tool needs a rule for which version wins. Most use last-write-wins with a full version history, which is acceptable for inspection notes but worth confirming with your vendor.
- Integrity check on upload. The file hash should be verified after upload so you know the copy on the server matches the copy on the device.
- Explicit confirmation before deletion. Never let the app auto-delete local files. Require a manual confirmation that the upload succeeded.
A sync that appears to complete is not the same as a sync that succeeded. Check the queue state at the end of every field day, and never clear device storage until you have seen the confirmation.
Privacy and sync are not afterthoughts. They are the two operational controls that determine whether your geotagged evidence is usable, defensible, and compliant six months after the site visit.
Calculating ROI: Where the Time Savings Come From
The return on geotagged inspection reports comes from four places: less time writing reports, fewer repeat site visits, fewer disputes that need resolving, and lower administrative overhead.
A Worked ROI Formula
Use this framework. It is deliberately simple so you can run it in a spreadsheet in ten minutes.
Where:
- H = hours spent per report on manual compilation (notes, photo sorting, formatting)
- R = reports produced per inspector per year
- W = fully loaded hourly cost per inspector (wage plus benefits, vehicle, and overhead)
- V = repeat site visits avoided per year
- C = average cost per repeat visit (travel, labor, scheduling disruption)
- D = disputes per year that required paid staff time to resolve
- S = average staff hours per dispute × loaded hourly cost
- L = annual software licensing cost per seat
- T = one-time training and template setup cost, amortized over the expected three-year life of the tool
A Concrete Walk-Through
Say a mid-sized firm runs five inspectors, each producing roughly 150 reports a year. If manual compilation eats two hours per report and the loaded hourly cost is $65, the report-writing line alone is 5 × 150 × 2 × $65 = $97,500 a year. A geotagged workflow that cuts compilation to 20 minutes removes about $81,250 of that. Add even two avoided repeat visits per inspector per year at $250 each, and the case for adopting such a system is often clear for many teams before counting dispute savings.
| Cost area | Manual process | Geotagged workflow | Where the saving comes from |
|---|---|---|---|
| Report writing | Hours rebuilding notes and photos | Auto-generated Field Report | No manual compilation |
| Repeat visits | Return trips for missing evidence | Complete capture on first visit | Standardized templates |
| Disputes | Time and cost defending claims | Verifiable evidence on file | Metadata and audit trail |
| Admin | Sorting and filing images | Search by key or date | Instant retrieval |
Track your actual H and R for one month before you buy. Teams routinely overestimate how long report writing takes and underestimate how many reports they produce. The real numbers usually make the decision easier, not harder.
Do not delete photos from your device until you have confirmed the cloud sync completed. A failed upload with the local copy already gone means the evidence is unrecoverable.
Frequently Asked Questions
What are the primary advantages of using geotagged inspection reports?
Geotagged inspection reports lock each photo to GPS coordinates, a timestamp, and your written notes. That combination creates verifiable evidence of where and when an issue was found. The practical payoff is fewer disputes with clients and contractors, faster report assembly because photos are already sorted by location and date, and a defensible audit trail if a claim is ever challenged. Teams documenting multiple sites also gain a searchable visual record they can pull up months later without digging through folders.
Are geotagged inspection reports legally admissible for insurance claims?
Geotagged photos can support an insurance claim, but admissibility depends on how the evidence was captured and stored. Courts and insurers look for an unbroken chain of custody, original file metadata such as EXIF data, and proof the file was not edited after capture. Keeping original files, avoiding re-saving or cropping, and exporting with timestamps intact strengthens your position. For anything heading to a formal dispute, confirm requirements with your legal advisor, since standards vary by case type and jurisdiction.
How accurate is geotagging on a smartphone?
Consumer GPS on a modern Android device typically lands within a few metres under open sky, which is enough to confirm a specific building, floor level, or site zone. Accuracy drops near tall structures, dense tree cover, or indoors, where signals reflect or weaken. For inspections where precise coordinates matter, take a reading in an open area first, confirm the location pin on a map before shooting, and note any conditions that could affect accuracy. Apps that store coordinates in the photo metadata rather than relying on memory give you a checkable record.
How do geotagged photos improve audit trails for construction projects?
Each geotagged photo carries GPS coordinates, a timestamp, and often device metadata, which together form a record that is hard to backdate or fabricate. When you pair that with consistent naming and session-based keys, a project manager can trace any defect back to the exact date, location, and inspector. That traceability speeds up progress verification, supports payment certification, and gives you a clean file if a dispute arises months after the work is covered up. Offline capture with later cloud synchronization keeps the chain intact even on remote sites.
Field documentation is only as good as the process behind it, and the gap between a folder of photos and a defensible report is where projects lose time and arguments. PhotoLog turns an Android device into a field documentation tool with automatic GPS geotagging, typed and dictated notes, instant searchability by key or date, and exportable ZIP files with formatted Field Reports. Get started with PhotoLog and turn every site visit into evidence you can stand behind.