Table of Contents
- What You’ll Need Before You Start Geotagging
- How to Geotag Photos for Construction: Step-by-Step
- Benefits of Geotagged Photos for Contractors
- GPS Metadata for Construction Documentation: What Gets Stored
- How to Organize Construction Site Photos at Scale
- Best Construction Photo Apps: What to Look For
- Common Mistakes to Avoid with Geotagged Site Photos
- Conclusion
- Frequently Asked Questions
Last Updated: September 10, 2026
What You’ll Need Before You Start Geotagging
Geotagging embeds GPS coordinates, a timestamp, and related metadata into a photo file, so every image carries verifiable proof of where and when it was captured.
Before your first geotagged shot, sort out four things:
- A smartphone or camera with GPS capability (most Android devices include it)
- Location services enabled at the device level, not just in the camera app
- A photo app that writes GPS data to EXIF metadata rather than stripping it
- A file naming or keying system so images stay searchable once you have hundreds of them
That last item is where most teams stumble. That last item is where most teams stumble.
How to Geotag Photos for Construction: Step-by-Step
Learning how to geotag photos for construction comes down to four moves: enable location permissions, capture images with GPS metadata intact, verify or correct coordinates, and batch-process the session before it leaves the field.
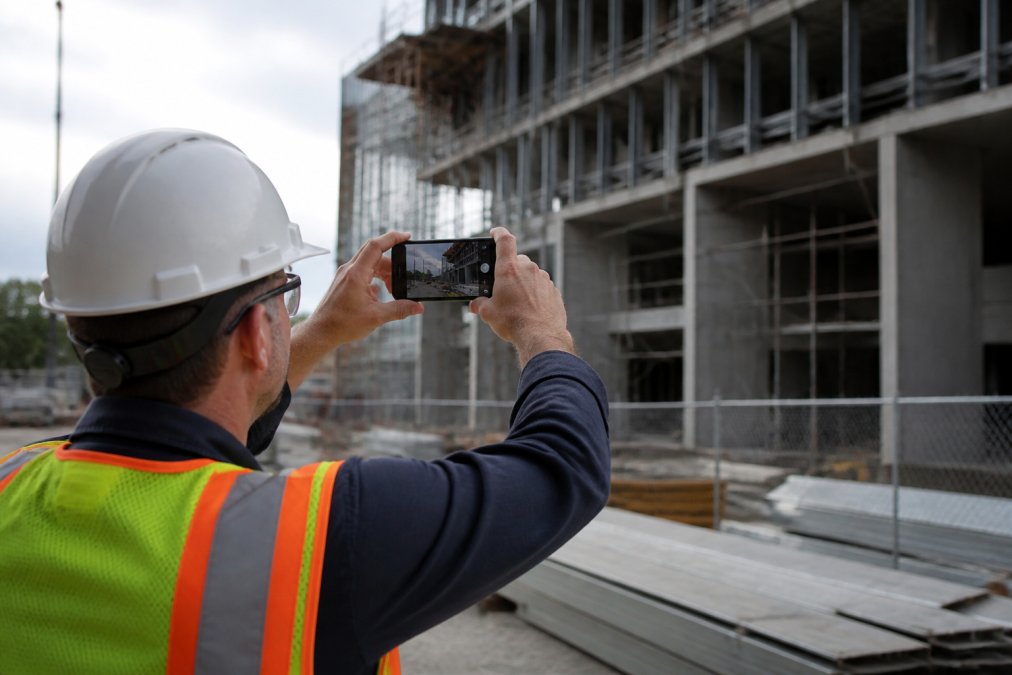
Step 1: Enable Location Services and Camera Permissions
Open device settings and confirm location services are on. Then check the camera app’s permission: on Android, go to Settings > Apps > Camera > Permissions and set Location to “Allow only while using the app.”
A common mistake is granting location access once and assuming it sticks. System updates sometimes reset app permissions, so verify before a site visit.
For higher accuracy on Android, set location mode to “High accuracy” (GPS + Wi-Fi + mobile networks) rather than “Device only.” High accuracy uses assisted GPS (A-GPS), which cuts time-to-first-fix from minutes to seconds (developer.android.com). On a remote site with no data, plan for a 30-60 second wait on the first capture of the day.
Step 2: Capture Photos with GPS Metadata Embedded
Open your camera app outdoors and wait for the GPS indicator to confirm a fix before shooting, a few seconds under open sky, longer near tall structures or dense tree cover.
Each image then stores latitude, longitude, a timestamp, and often elevation and compass heading in its EXIF data. Hold the phone steady after the shutter fires; some devices write coordinates a beat after capture.
A practical field habit: shoot a “locator” frame first, a wide shot with a recognizable landmark, floor marker, or grid line, then move into detail shots. It anchors the session geographically, giving you a reference point if a later image drifts.
Step 3: Verify and Add Manual Geotags When Needed
Check the first photo of every session by opening its details panel and confirming the coordinates match your actual position. If GPS hasn’t locked, or you’re indoors or underground, add the location manually through your photo app’s edit function.
Manual geotagging is slower and more error-prone, so treat it as a fallback. The Android developer documentation on location permissions explains how the underlying location APIs behave, which helps when troubleshooting why a device won’t lock on.
Step 4: Troubleshoot GPS Drift and Batch-Process the Session
GPS drift happens when reported coordinates wander even though the device is stationary, caused by satellite geometry, multipath reflection off steel and glass, and atmospheric interference. On a dense urban site or inside a deep excavation, drift of 10-30 meters is common, enough to place a photo in the wrong grid bay or across a property line.
How to handle it:
- Take a reference reading. Stand at a known survey point or fixed site marker, note the coordinates your device reports, and compare to the known value. If the offset is consistent, apply it as a correction to the session.
- Wait for a stable fix. Watch the accuracy readout (many camera apps show it in meters). Don’t shoot until it stabilizes.
- Use a Bluetooth GNSS receiver for survey-grade work. Consumer phone GPS is typically accurate to about 3-5 meters under good conditions; external receivers using RTK or SBAS corrections can reach centimeter-level (gps.gov). For compliance documentation tied to property boundaries or structural tolerances, that difference matters.
- Re-tag after the fact. If a batch came back with drifted coordinates, use a tool that edits EXIF GPS fields in bulk rather than one file at a time.
Batch processing is the other half of Step 4. When you capture hundreds of images per visit, touching each file individually isn’t viable. A batch workflow applies consistent naming, verifies every image carries coordinates, flags outliers, and exports the session in one pass.
The failure mode to guard against: batch operations fail quietly. If 12 of 300 images are missing GPS data, a naive export produces a report with 12 unlocated photos, and nobody notices until the report is challenged. Build verification into the batch, a count of geotagged vs. total images, and a list of files missing coordinates, so the gap surfaces before export.
Run a batch verification at the end of every site visit, not at the end of the project. Catching a missing-coordinate problem the same day means you can re-shoot; catching it three weeks later usually means you can’t.
Step 5: Sync and Preserve Metadata Through Export
Cloud synchronization pushes the batch to a shared location so the office sees it without anyone transferring memory cards. The critical check is metadata preservation: some sync and messaging tools strip EXIF data on upload, erasing the coordinates you just captured.
Before committing to a sync tool, test it with a single geotagged image: upload it, download it on another device, and inspect the EXIF fields. If latitude and longitude survive the round trip, it’s safe for documentation; if not, it’s unusable for evidence.
Benefits of Geotagged Photos for Contractors
The core benefit of geotagged photos for contractors is defensibility. A photo with embedded GPS coordinates and a timestamp proves not just what was documented but exactly where and when, which matters when a dispute arises months later.
Beyond dispute resolution, geotagged images speed up three recurring tasks:
- Site progress tracking: Compare dated photos of the same location across visits without relying on memory or handwritten notes
- Compliance reporting: Attach location-verified evidence to inspection submissions
- Project accountability: Attribute defects or delays to specific areas with visual verification
The practical difference shows up in reporting time. Instead of sorting unlabeled images trying to recall which corner of which floor each shows, you pull a session by date or key and the location data can assist with sorting.
GPS Metadata for Construction Documentation: What Gets Stored
GPS metadata for construction documentation typically includes latitude, longitude, a precise timestamp, elevation, compass heading, and device information, all written into the image’s EXIF data at capture.
| Metadata Field | What It Records | Why It Matters |
|---|---|---|
| GPS coordinates | Latitude and longitude | Proves exact capture location |
| Timestamp | Date and time to the second | Establishes sequence of events |
| Elevation data | Height above sea level | Useful for multi-level sites |
| Compass heading | Direction camera faced | Confirms what was in frame |
| Device info | Camera model and settings | Supports authenticity checks |
One warning: some messaging apps and social platforms strip EXIF data on upload. If you share site photos through a consumer chat app, the coordinates may vanish before the recipient sees them. Use a documentation tool that preserves metadata through export.
How to Organize Construction Site Photos at Scale
Organizing construction site photos at scale means moving past folder hierarchies into a system where images are searchable by location, date, and project key. Manual sorting collapses once you capture hundreds of images per visit.
A workable approach pairs session-based keys with automatic timestamping. Assign each site visit a key, capture everything under it, and let the software handle the filing.
- Confirm location services are active before leaving the office
- Create a session key for the site visit
- Capture photos with GPS and timestamp intact
- Verify the first and last image of each session
- Export a formatted report rather than a raw folder of files
Batch Processing and Cloud Synchronization
Batch processing applies the same treatment to an entire shoot: consistent naming, metadata verification, and export in one pass instead of touching each file individually. Cloud synchronization then pushes those files to a shared location so the office sees them without transferring memory cards.
Batch workflows fail quietly when a handful of images are missing coordinates. Build a verification step into the batch, not after it.
Best Construction Photo Apps: What to Look For
The best construction photo apps share four traits: automatic GPS tagging, offline capability, searchable metadata, and exportable reports. Everything else is secondary.
PhotoLog automatically geotags and time-stamps every image, lets you attach typed or dictated notes, and makes photos instantly searchable by key or date. Its switchable GPS controls when location data is recorded, which matters for privacy-sensitive sites.
The built-in Field Report and exportable ZIP files mean you can hand over a formatted document, not a folder someone else has to organize.
The honest limitation is platform scope. PhotoLog is built for Android, so teams standardized on iOS need a different approach.
When evaluating alternatives, check these criteria before committing:
- Does the app write GPS data to EXIF, or store it only in its own database?
- Can it function without cell service and sync later?
- Does it preserve metadata through export?
- Can it handle a few hundred photos per session without slowing down?
Common Mistakes to Avoid with Geotagged Site Photos
The most damaging mistake is trusting GPS accuracy without verifying it. Urban canyons, heavy cloud cover, and metal structures degrade satellite fixes, producing coordinates off by enough to matter for compliance work. The fix: verify GPS against a known reference at the start of each session and know your device’s typical accuracy under your shooting conditions.
Other recurring errors, with the mechanism behind each:
- Sharing through apps that strip EXIF data. Consumer messaging and social platforms often remove metadata on upload, leaving a photo with no location proof, and you may not notice until the report is challenged. Fix: test your sharing tool with a single image, or export through a tool that preserves metadata.
- Skipping the permission check after a device update. OS updates can reset app-level permissions, silently revoking camera location access. Fix: make a permission check part of your pre-visit checklist.
- Relying on manual geotagging as a primary method. Manual entry is slow and introduces transcription errors, a transposed digit in a latitude field can place a photo kilometers away. Fix: treat manual tagging as a fallback for indoor or underground captures.
- Ignoring GPS drift. Coordinates wander even when you’re standing still, and drift is worst where construction documentation matters most: dense urban sites, steel-framed structures, and deep excavations. Fix: take a reference reading at a known point, wait for a stable accuracy readout, and consider an external GNSS receiver for survey-grade work.
- Assuming elevation data is reliable. Phone-derived elevation is often the least accurate EXIF field, off by several meters even when horizontal coordinates are good. Fix: don’t rely on phone elevation for multi-level documentation; use floor markers or a reference point.
The Privacy and Security Risk Nobody Talks About
Geotagged photos reveal more than most people expect. A single image can expose a site’s exact coordinates, the time of day a crew was present, and, through the device info field, the phone’s make and model. On a public project folder or a shared drive with loose access controls, that metadata is a map of your operations.
For sensitive infrastructure, substations, water treatment facilities, security installations, location metadata is a genuine security concern. A geotagged photo of a facility’s interior, shared beyond the project team, tells anyone who finds it exactly where that facility is and what it looks like inside.
Practical controls:
- Confirm who can access the location data, not just who can see the photo. Some tools separate the image from its metadata in the viewer, useful for public-facing galleries.
- Use switchable GPS where available, so you can disable location recording for specific sessions, interior shots of a secure facility, for example, while keeping it on for exterior progress documentation.
- Audit shared folders periodically. Metadata fine to share with the project team may not be fine for a wider distribution list six months later.
- Check your tool’s export behavior. If a tool strips metadata on export, that’s a privacy feature in some contexts and a documentation failure in others. Know which you need before committing.
If you share geotagged site photos through a consumer messaging app, the EXIF data is often stripped on upload. The recipient gets a photo with no location proof, and you may not notice until the report is challenged. The reverse risk is just as real: a tool that preserves metadata perfectly can leak sensitive site coordinates if the sharing scope isn’t controlled.
A Note on Compliance and Retention
Geotagged photos are increasingly used as evidence in construction disputes, delay claims, and inspection records, raising two practical questions: how long must you keep the metadata intact, and who is responsible for it?
Most project contracts specify a retention period for site records, and geotagged images fall under that obligation. The metadata is part of the record, a photo without coordinates is weaker evidence than one with them. If your workflow strips metadata at any stage, you’re degrading the record’s evidentiary value, even if the image survives.
A common pattern: keep the original geotagged file in a controlled archive and use stripped or resized copies for day-to-day sharing, preserving the evidence while limiting privacy exposure.
Conclusion
Getting geotagging right comes down to discipline: verify your permissions, confirm the first capture of every session, and use a tool that preserves metadata through export. Teams that struggle treat location data as an afterthought.
Automatic GPS geotagging, typed and dictated notes, instant searchability by key or date, and exportable ZIP files with formatted Field Reports mean every site visit produces a record you can defend.
Download PhotoLog free and turn your Android device into a field documentation tool.
Frequently Asked Questions
How do I turn on geotagging for construction photos on my phone?
Open your camera app settings and enable location or GPS tagging. On Android, go to Settings > Apps > Camera > Permissions and allow location access. Make sure your phone’s Location Services are turned on before you start shooting. For construction work, consider using a dedicated field documentation app that embeds GPS coordinates, timestamps, and compass heading directly into each photo’s EXIF data.
Are construction photos automatically geotagged?
Only if location permissions are enabled for your camera or documentation app. Most smartphones embed GPS coordinates by default when location access is granted, but the accuracy varies. In areas with poor satellite fix, such as inside steel-framed structures or underground, coordinates may drift or fail entirely. Field documentation apps built for construction can help manage GPS metadata and allow verification of coordinates before saving, which can be beneficial for compliance reporting and site audits.
Why is GPS metadata important for construction site inspections?
GPS metadata ties every photo to a precise latitude and longitude, timestamp, and compass heading, turning an image into verifiable photo evidence. For field inspection and as-built documentation, this removes ambiguity about where and when a defect, milestone, or safety issue was captured. It supports project accountability, simplifies compliance reporting, and gives project managers a searchable digital record that holds up when clients or regulators ask for proof of site conditions.
How does geotagging improve construction project accountability?
Geotagged photos create an unbroken visual record linking each image to a specific location and time. Project supervisors can confirm that inspections happened when and where they were scheduled, subcontractors can be held to documented site conditions, and disputes over defects or delays are resolved with timestamped, location-stamped evidence. Combined with site progress tracking and automated reporting, this can help streamline communication and keep every stakeholder working from the same verified data.